Although most of the required boards are installed by default on the Arduino IDE software, however, sometimes we need to add other boards and processors to the software. There are 2 ways to this:
1 būdas: Įdiegti tik Arduino ir Genuino plokštes
Currently this method is used only for Arduino and Genuino šeimos plokštes. To install these boards, just go to the Boards Manager section from the Board menu.
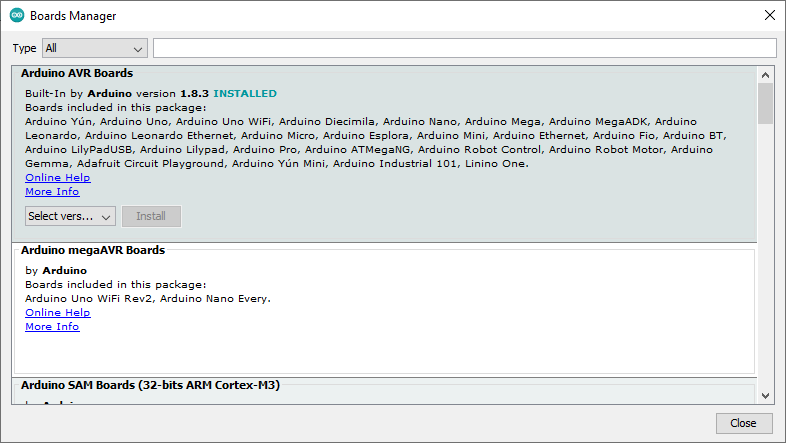
Then install it by searching for the desired processor.
After that, the board will be added to the list of boards.

2 būdas: Pridedami nuorodą JSON formatu
To install boards made by companies other than Arduino (such as esp8266 boards), you must use the JSON link.
Žingsnis 1: Find the Json link for the board by searching the internet. For example, I’m going to install ESP8266 boards.
https://arduino.esp8266.com/stable/package_esp8266com_index.json
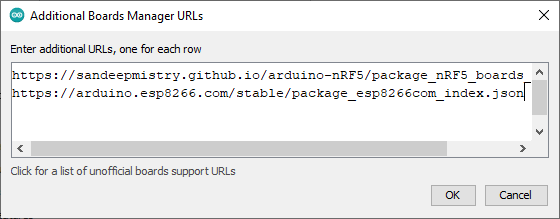
Žingsni 2: Go to the Preferences section from the File menu in the Arduino IDE software. In the Additional Board Manager URLs section, you must enter your board link that you found in the first step. Click on the icon shown in the figure below to open the links window.

Now add your link to the bottom of the list and then click OK.
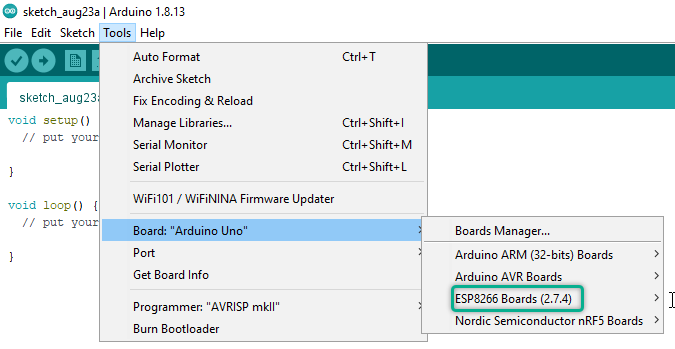
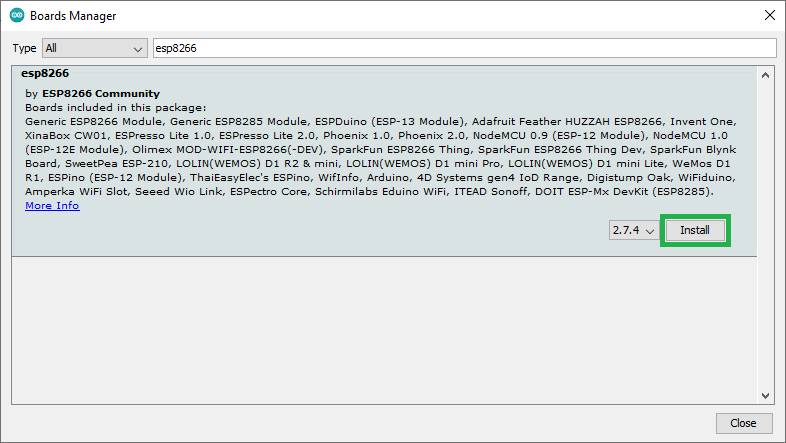
Žingsnis 3: Go to the Boards Manager section from the Board menu and search for the desired board name.

After finding the boards, you can install it. If you done installation steps properly, you will have the desired board in your list of installed boards.